
Hello everyone, welcome to my first blog post.
Today I’m making a beautiful floral 1950’s dress. It’s spring and Easter appropriate.
This project is pretty straight forward and fast. Since this fabric doesn’t fray, I’m going to finish it with pinking shears.
For this project I used 2 commercial patterns. For the top, I used Butterick B5748 and for the full skirt, I used Butterick B6352.
First thing, I cut out the skirt. Since it needs 24 hour to hang, and it eats up the fabric. This skirt is supposed to be gathered, but I wanted to pleat it. Just so I can have a different look to the skirt. Also the fabric is a little stiff, and gathering it. Will give it a bulky look on the waist.
Leave the skirt to hang for 24-hour (or more) good thing; this fabric doesn’t sag, so it didn’t drop.
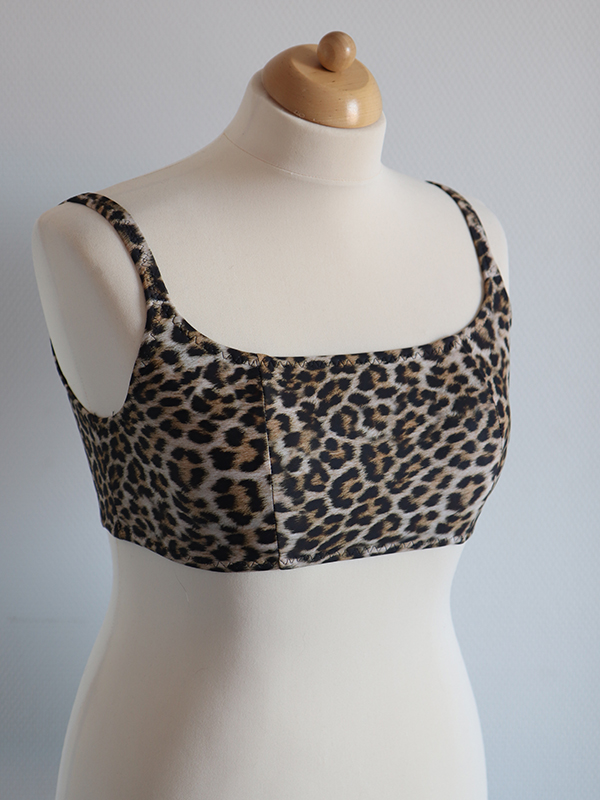
Then I lay out the top pattern on the fabric and cut it out as shown, off camera I changed the neckline to a square.
I’m going to lay the cutout piece directly on the fabric to cut the lining. Since this fabric is pretty thick, I opted for half lining instead of full lining.
I then lay the half lining on the wrong side of the top piece; just to make sure it fits.
After that, I mark the darts on the wrong side of the fabric, I pin it in place.
Usually I always have to adjust the waist, so I’m not super precise pinning the darts.
After that, I attach the front and the back pieces together.
And I also attach the zipper.
I wear the top, for the final adjustment. I almost always need to shorten the shoulders and widen the bust and back darts.
Of camera, I cut the sleeves from a third pattern Simplicity 1250.


I’m not a huge fan of sleeveless dresses. And I attached it to the top, before attaching the skirt.
Most important part, Is to lay the skirt pieces flat, and re-cut them from the same pattern, just to make sure it didn’t sag.
I opted for knife pleats, which was the first time I ever made it.
I had to measure and re-do the pleats 3 times, just to make it fit the top.
My knife pleats were 3cm each.
I then sewed a stay stitch on the skirt before I attached it to the top piece.
And voilà. You’ve got yourself a dress! I didn’t see a reason to hem the skirt, this fabric doesn’t shed, and since I cut it with pinking shears, it gave it a nice vintage finish.
I’ve already worn this dress in the Dutch windy weather; I didn’t have any shedding problem. Also since the fabric is somewhat heavy, and the skirt is big and pleated, it doesn’t fly.

More about the fabric, punta di roma with print (Digital Mexican with Flowers on creme) it’s my first time working with this type of stretchy material, it’s a little thick, but my small machine didn’t have any problem with it, even when I had thick layers while attaching the pleated skirt to the top. My needle went through it.
It’s not slippery, which is amazing thing for a beginner.